Puppy ears: adorable, floppy, and (let’s be honest) kind of smelly if you ignore them. Golden Retrievers love water, dirt, and life in general—great for their hearts, not always great for their ears. The good news?
You can clean those golden dumbo flaps quickly, safely, and without turning it into a wrestling match. Let’s make ear care easy so your pup stays comfy and infection-free.
Why Golden Retriever Puppy Ears Need Extra Love
Goldens have floppy ears that trap moisture and warmth—basically a VIP lounge for yeast and bacteria. Add in puppy curiosity (mud puddles, meet-and-greets, random bushes), and you get buildup fast.
You don’t need a daily clean. But you do need a regular check-in. Spot problems early and cleaning stays simple.
Ignore it and you’ll be Googling “why does my dog smell like corn chips” at 2 a.m.
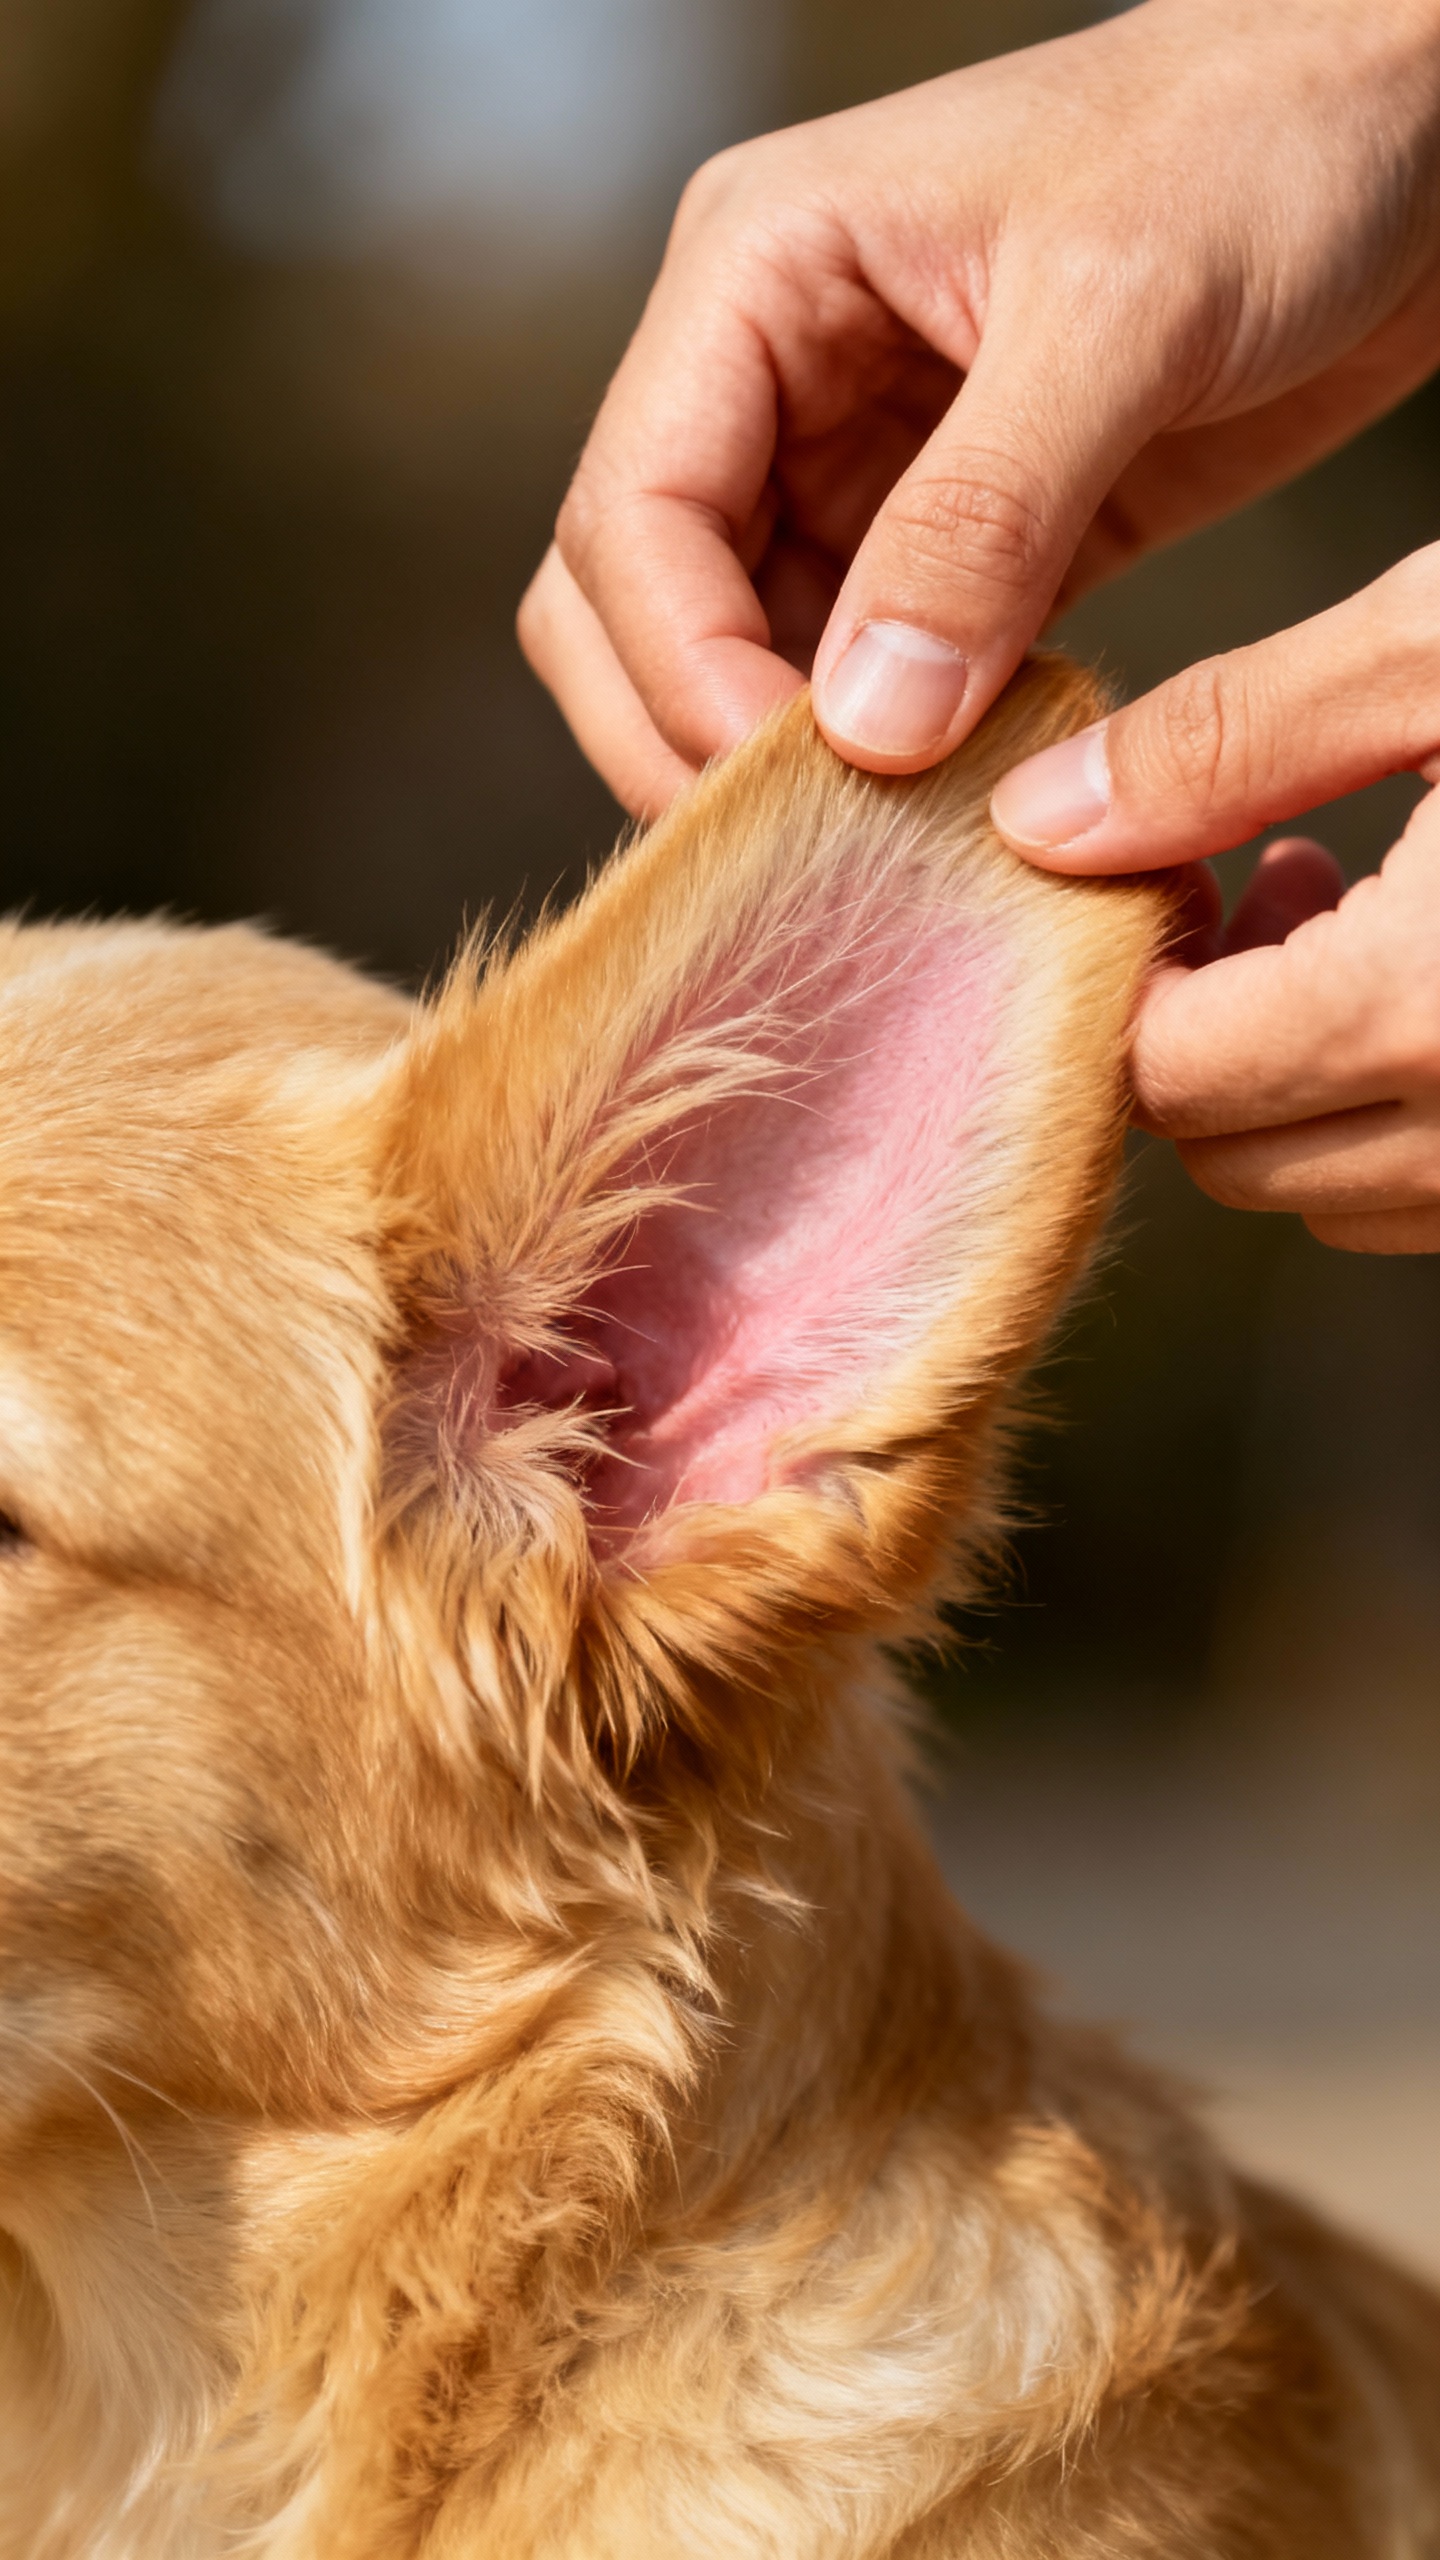
Know What “Normal” Looks Like
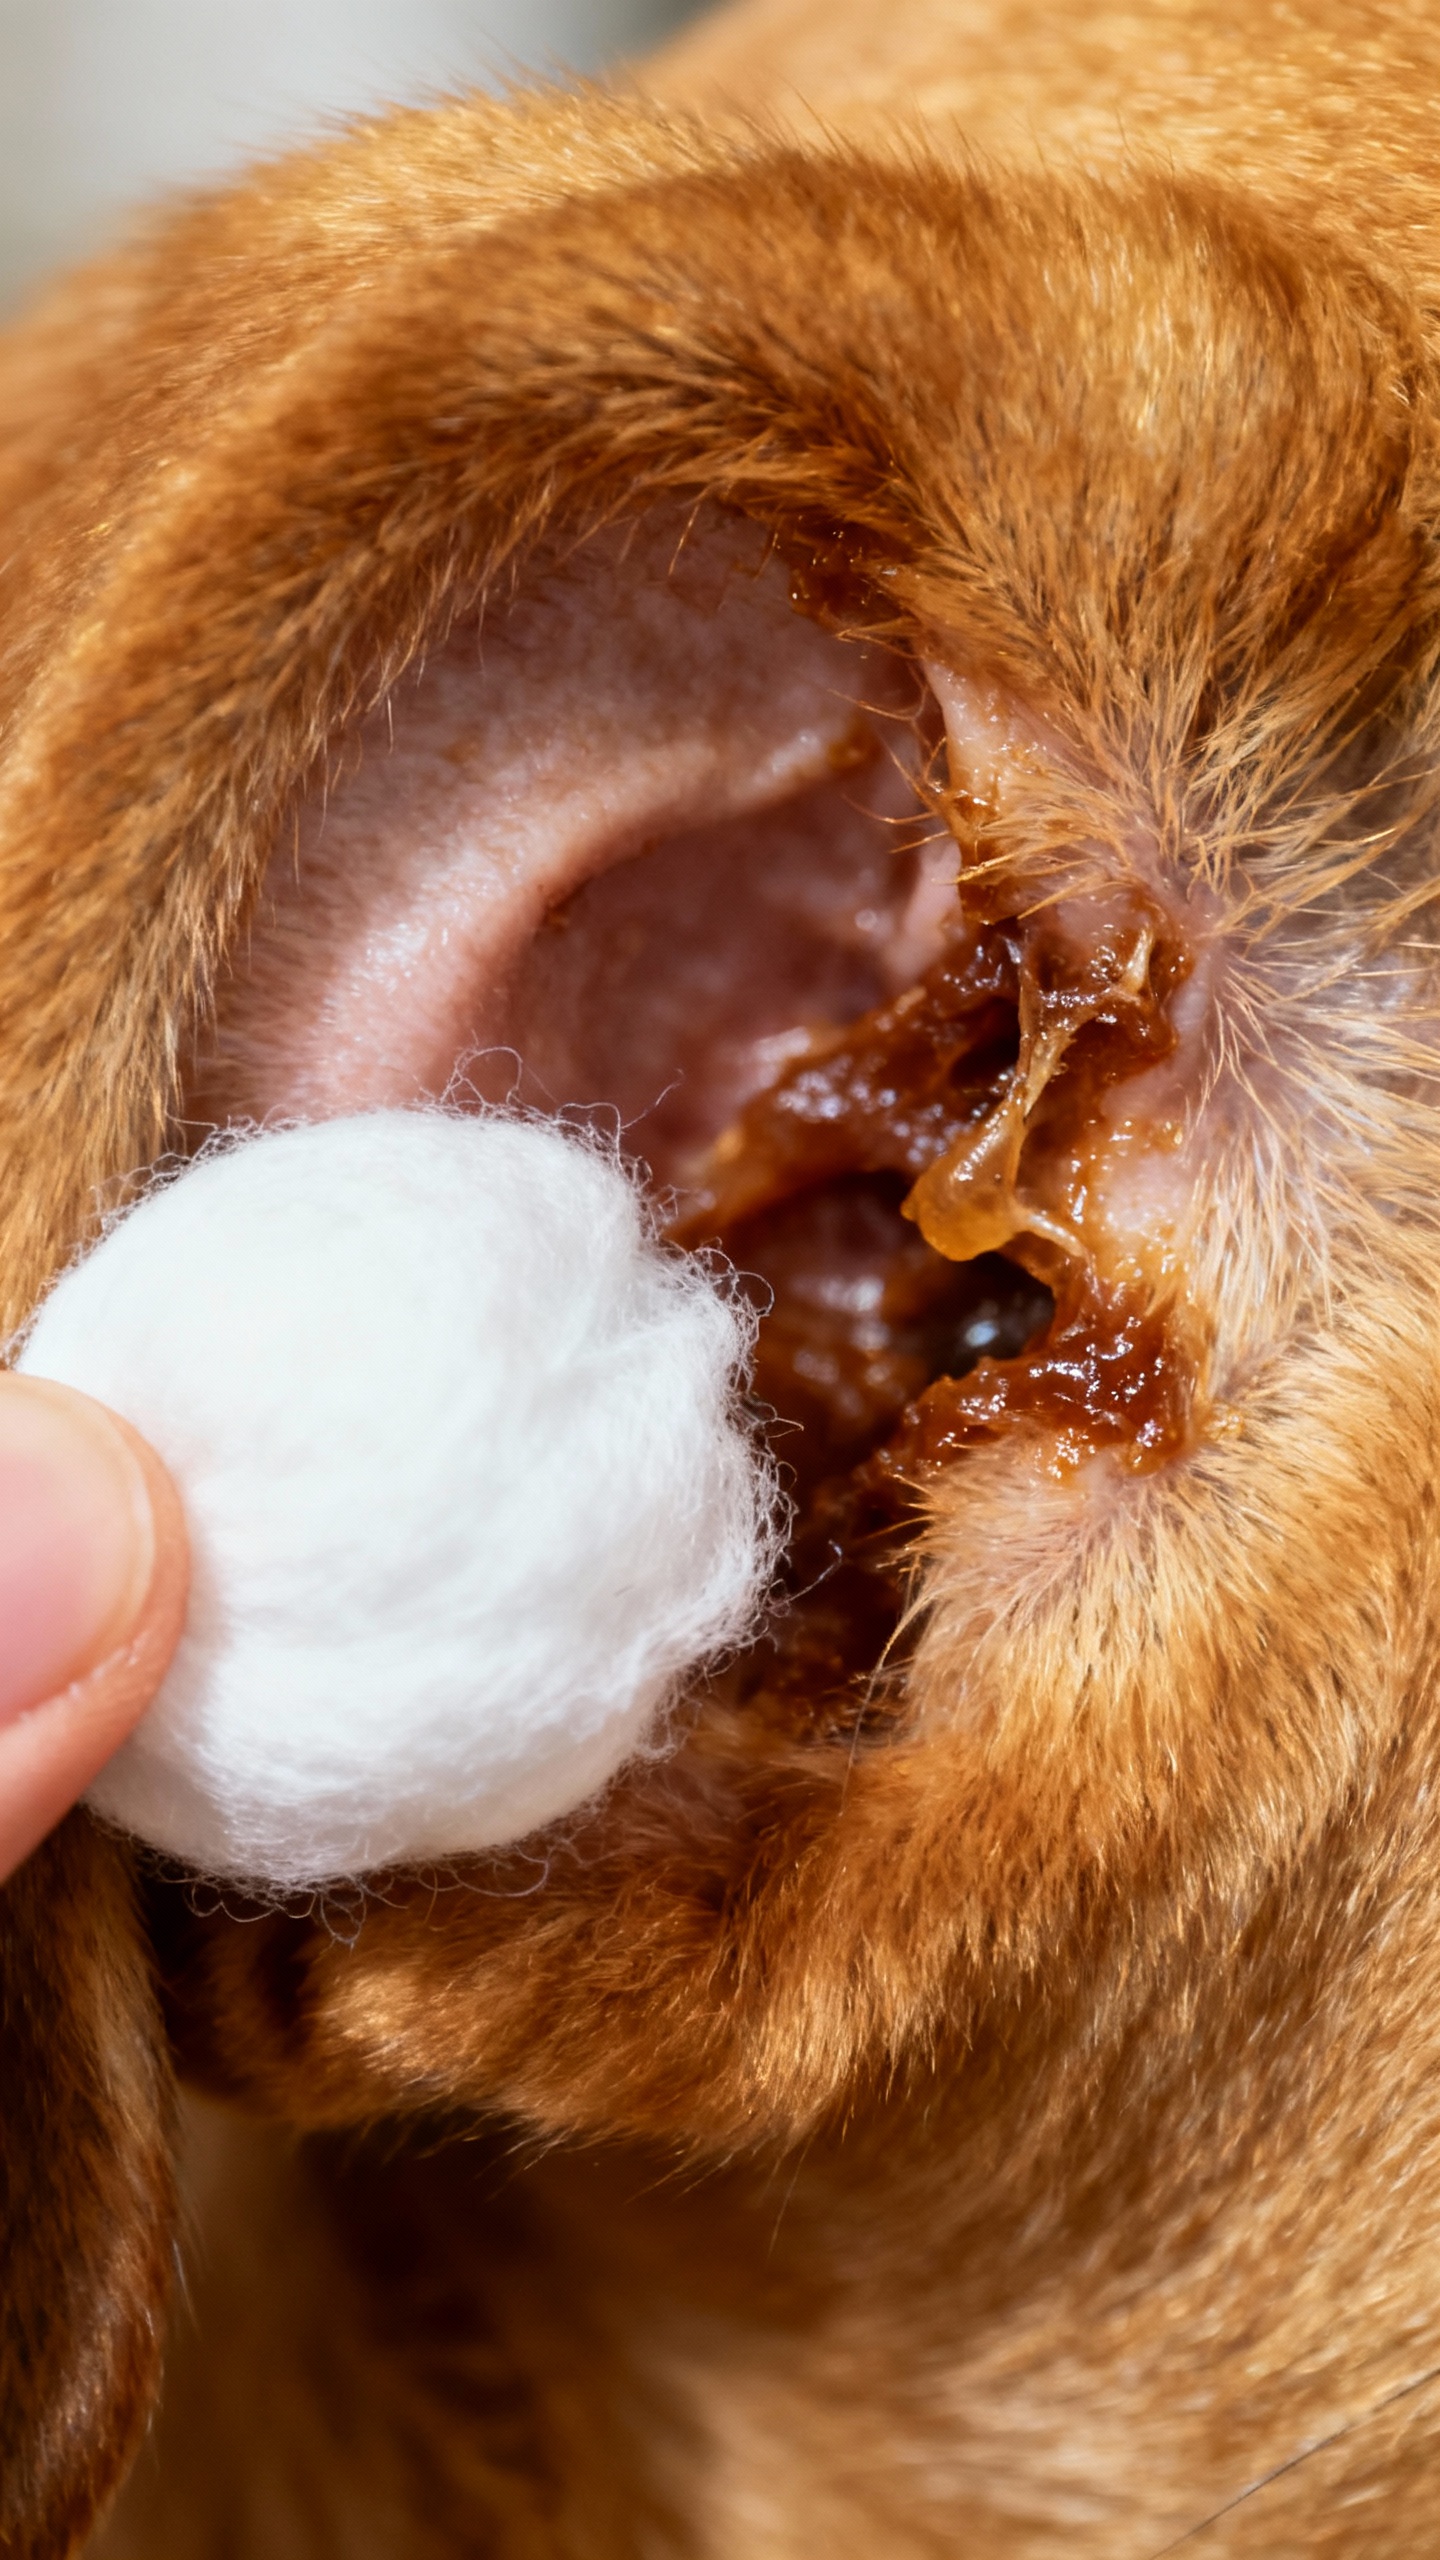
Before you clean anything, learn your pup’s baseline. Healthy ears look clean and pink, with very little wax and a mild, “dog” smell—nothing funky. Red flags to watch for:
- Redness or swelling
- Brown, black, or yellow discharge
- Strong odor (like sweet, yeasty, or sour)
- Head shaking, scratching, or crying when touched
- Scabs or hair loss around the ear
If you see those, call your vet before cleaning. Cleaning infected ears can hurt and makes things worse.
FYI, allergies also cause chronic ear flare-ups in Goldens—so keep that in mind.
What You’ll Need (Keep It Simple)
Don’t overcomplicate it. You just need:
- Vet-approved ear cleaner (no hydrogen peroxide, no alcohol)
- Cotton balls or gauze (skip Q-tips inside the ear canal)
- Treats (high-value ones—this is a bribe-friendly zone)
- Towel (for the inevitable head shake)
Choosing the Right Ear Cleaner
Look for words like “gentle,” “for routine use,” and “drying solution.” If your puppy swims a lot, a drying cleaner helps prevent moisture build-up. When in doubt, ask your vet which brand they like.
IMO, simpler formulas work best for routine care.
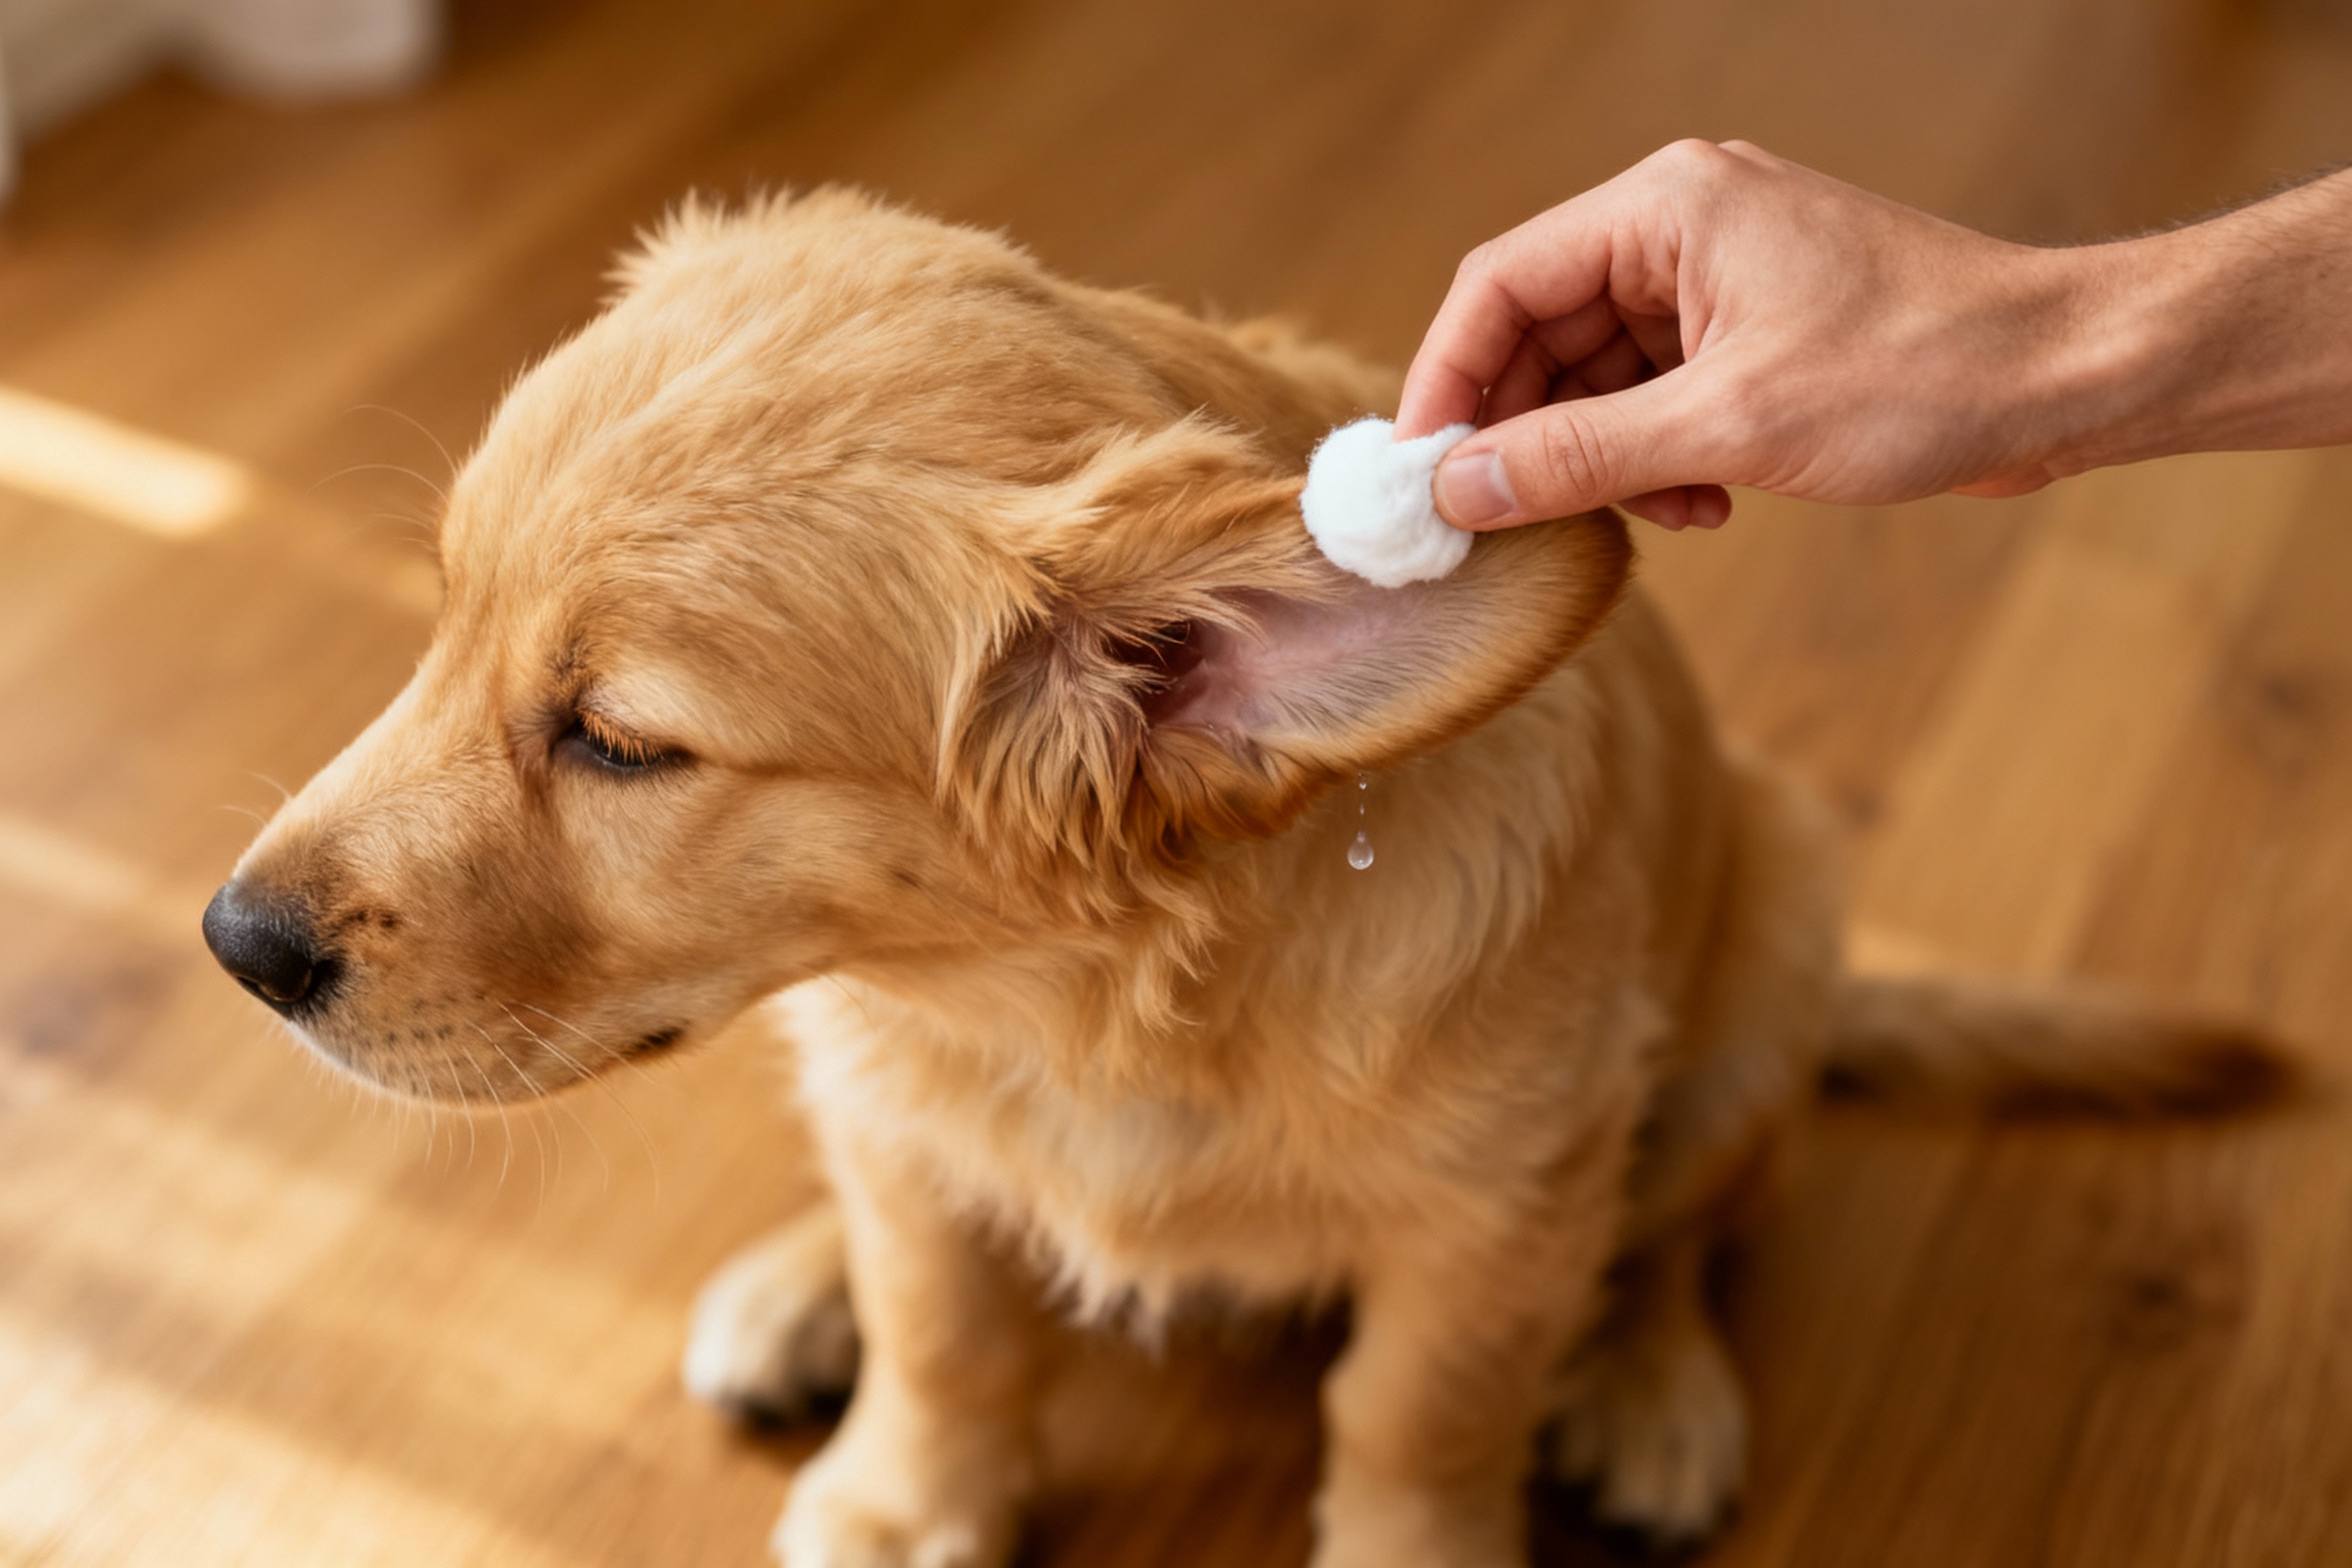
Step-by-Step: How to Clean Your Golden Retriever Puppy’s Ears
Ready? Let’s do this in under 5 minutes—no drama.
- Get comfy. Sit your pup between your legs or on a non-slip mat. Give a treat before you start.
Calm dog = easier clean.
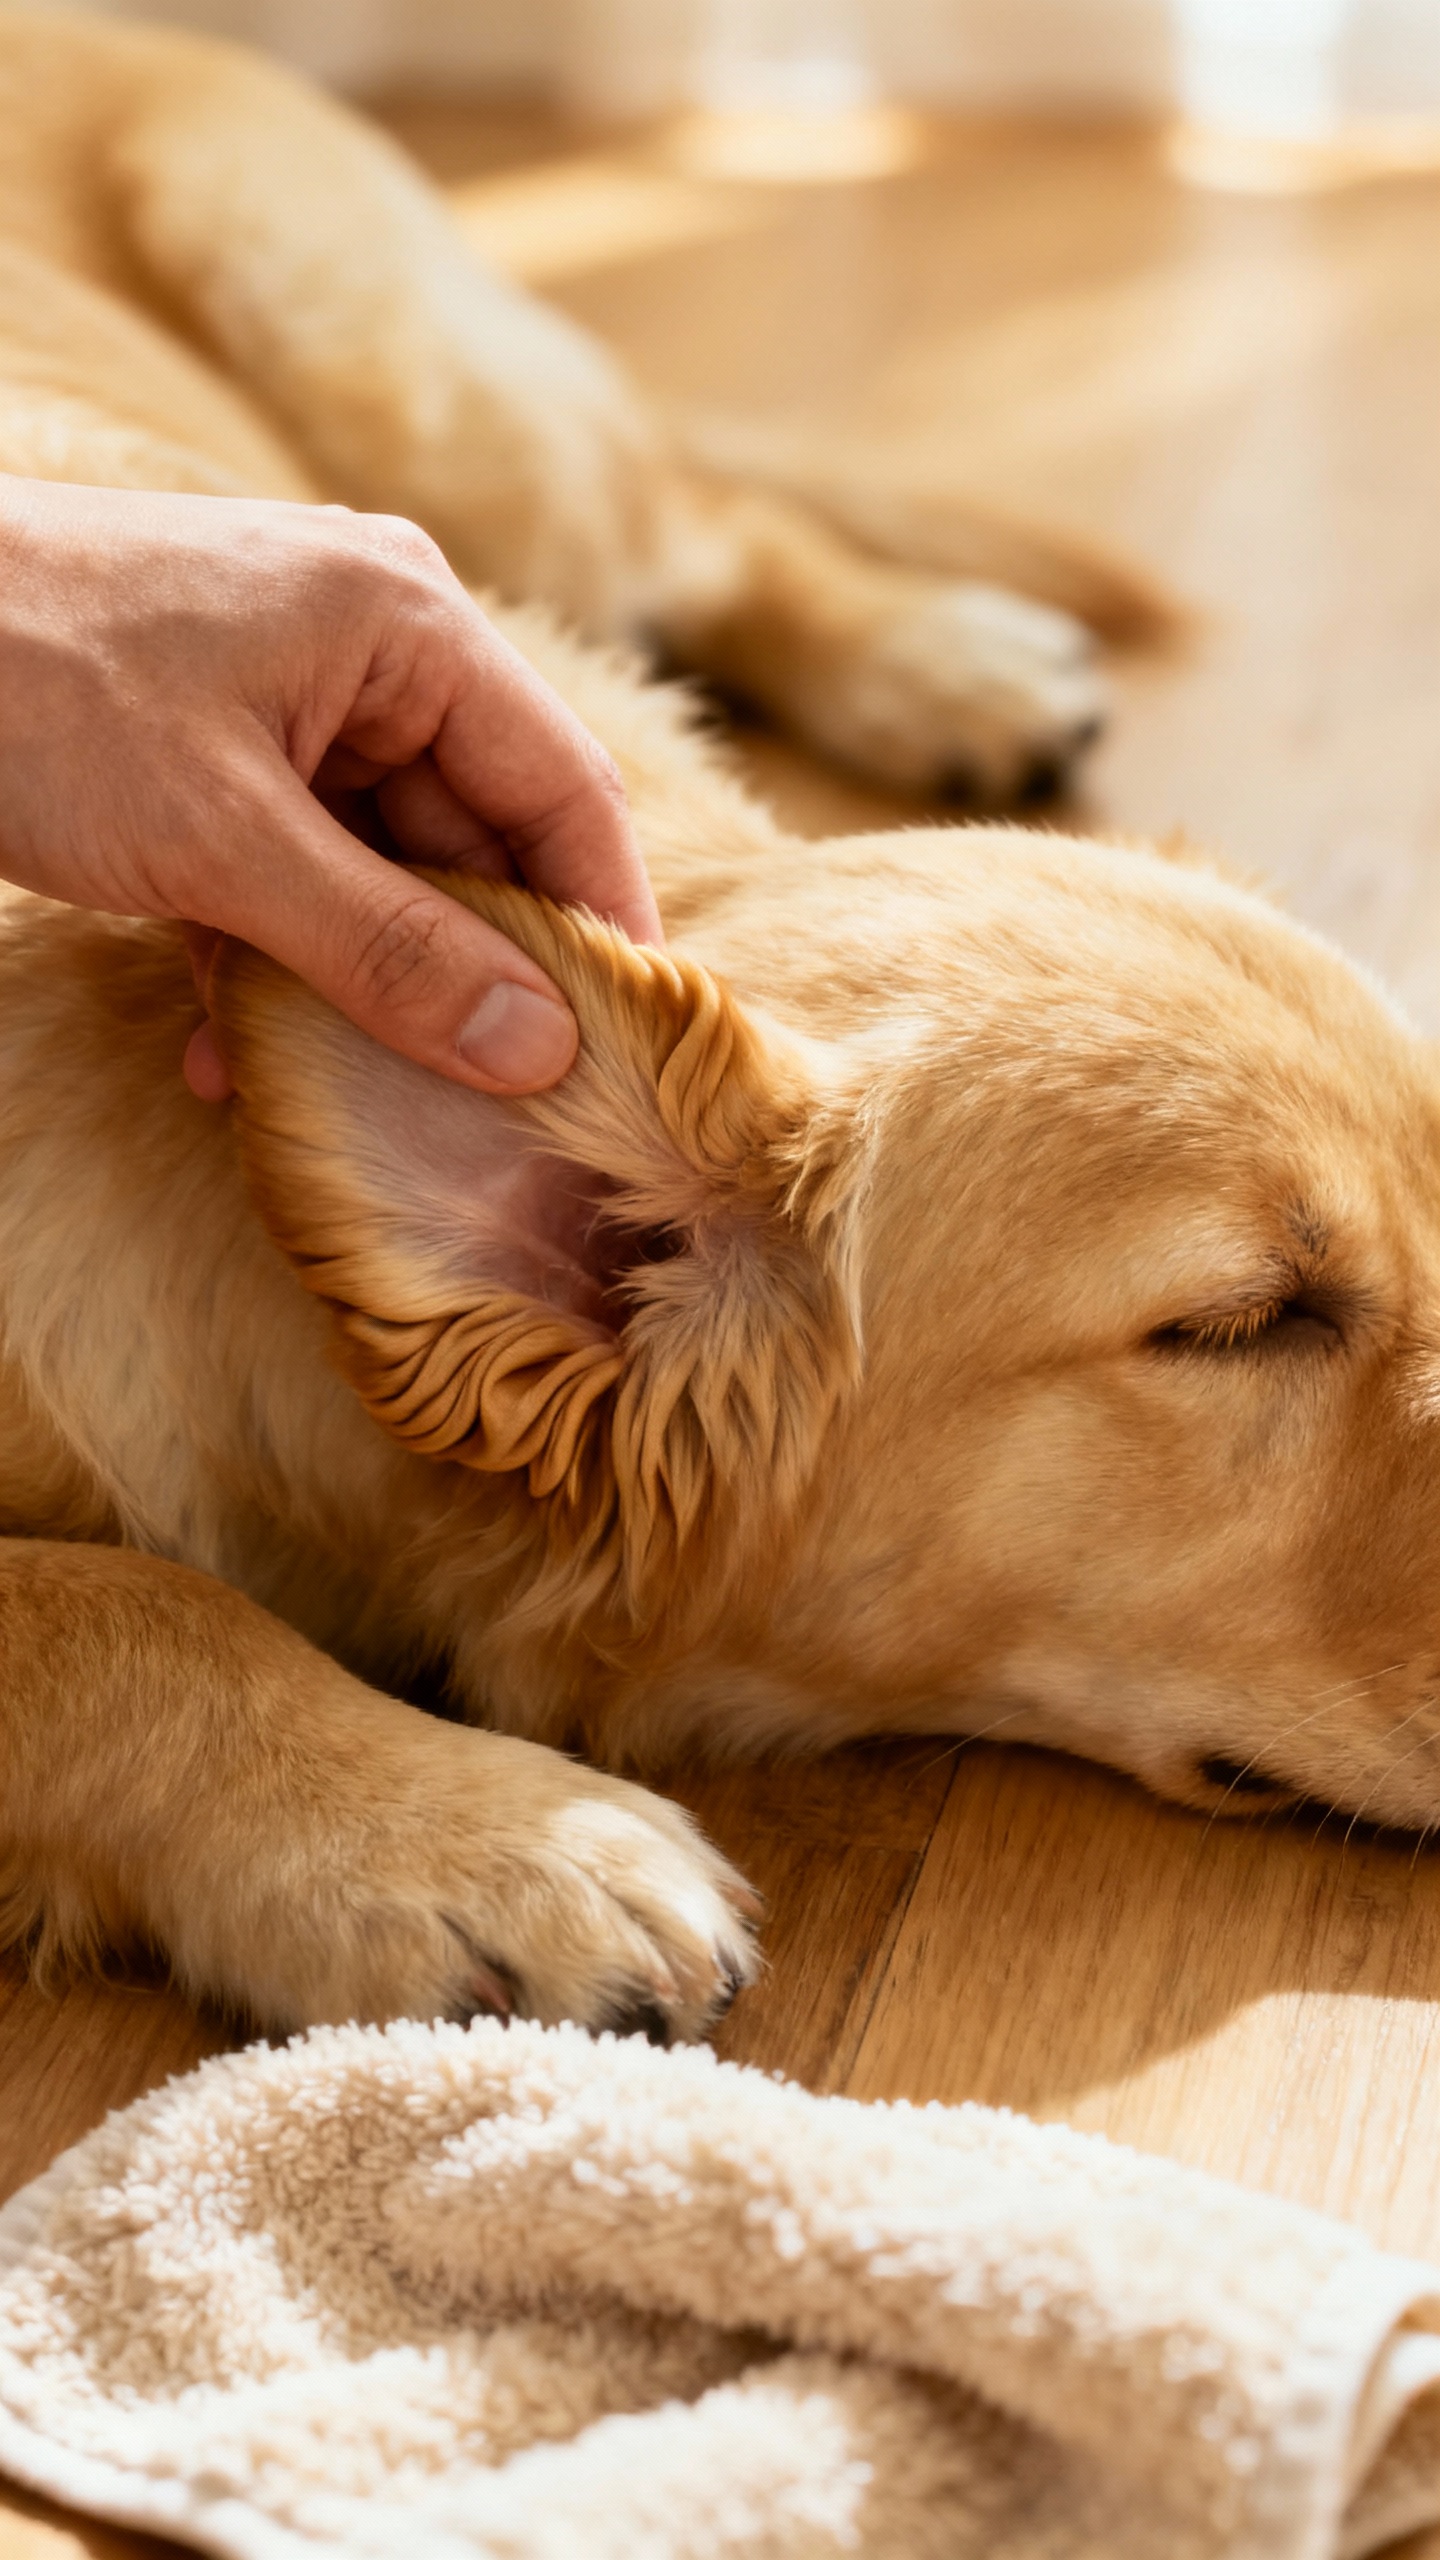
- Lift the ear flap. Gently hold the ear up so you can see into the ear canal entrance. Don’t poke around—just look.
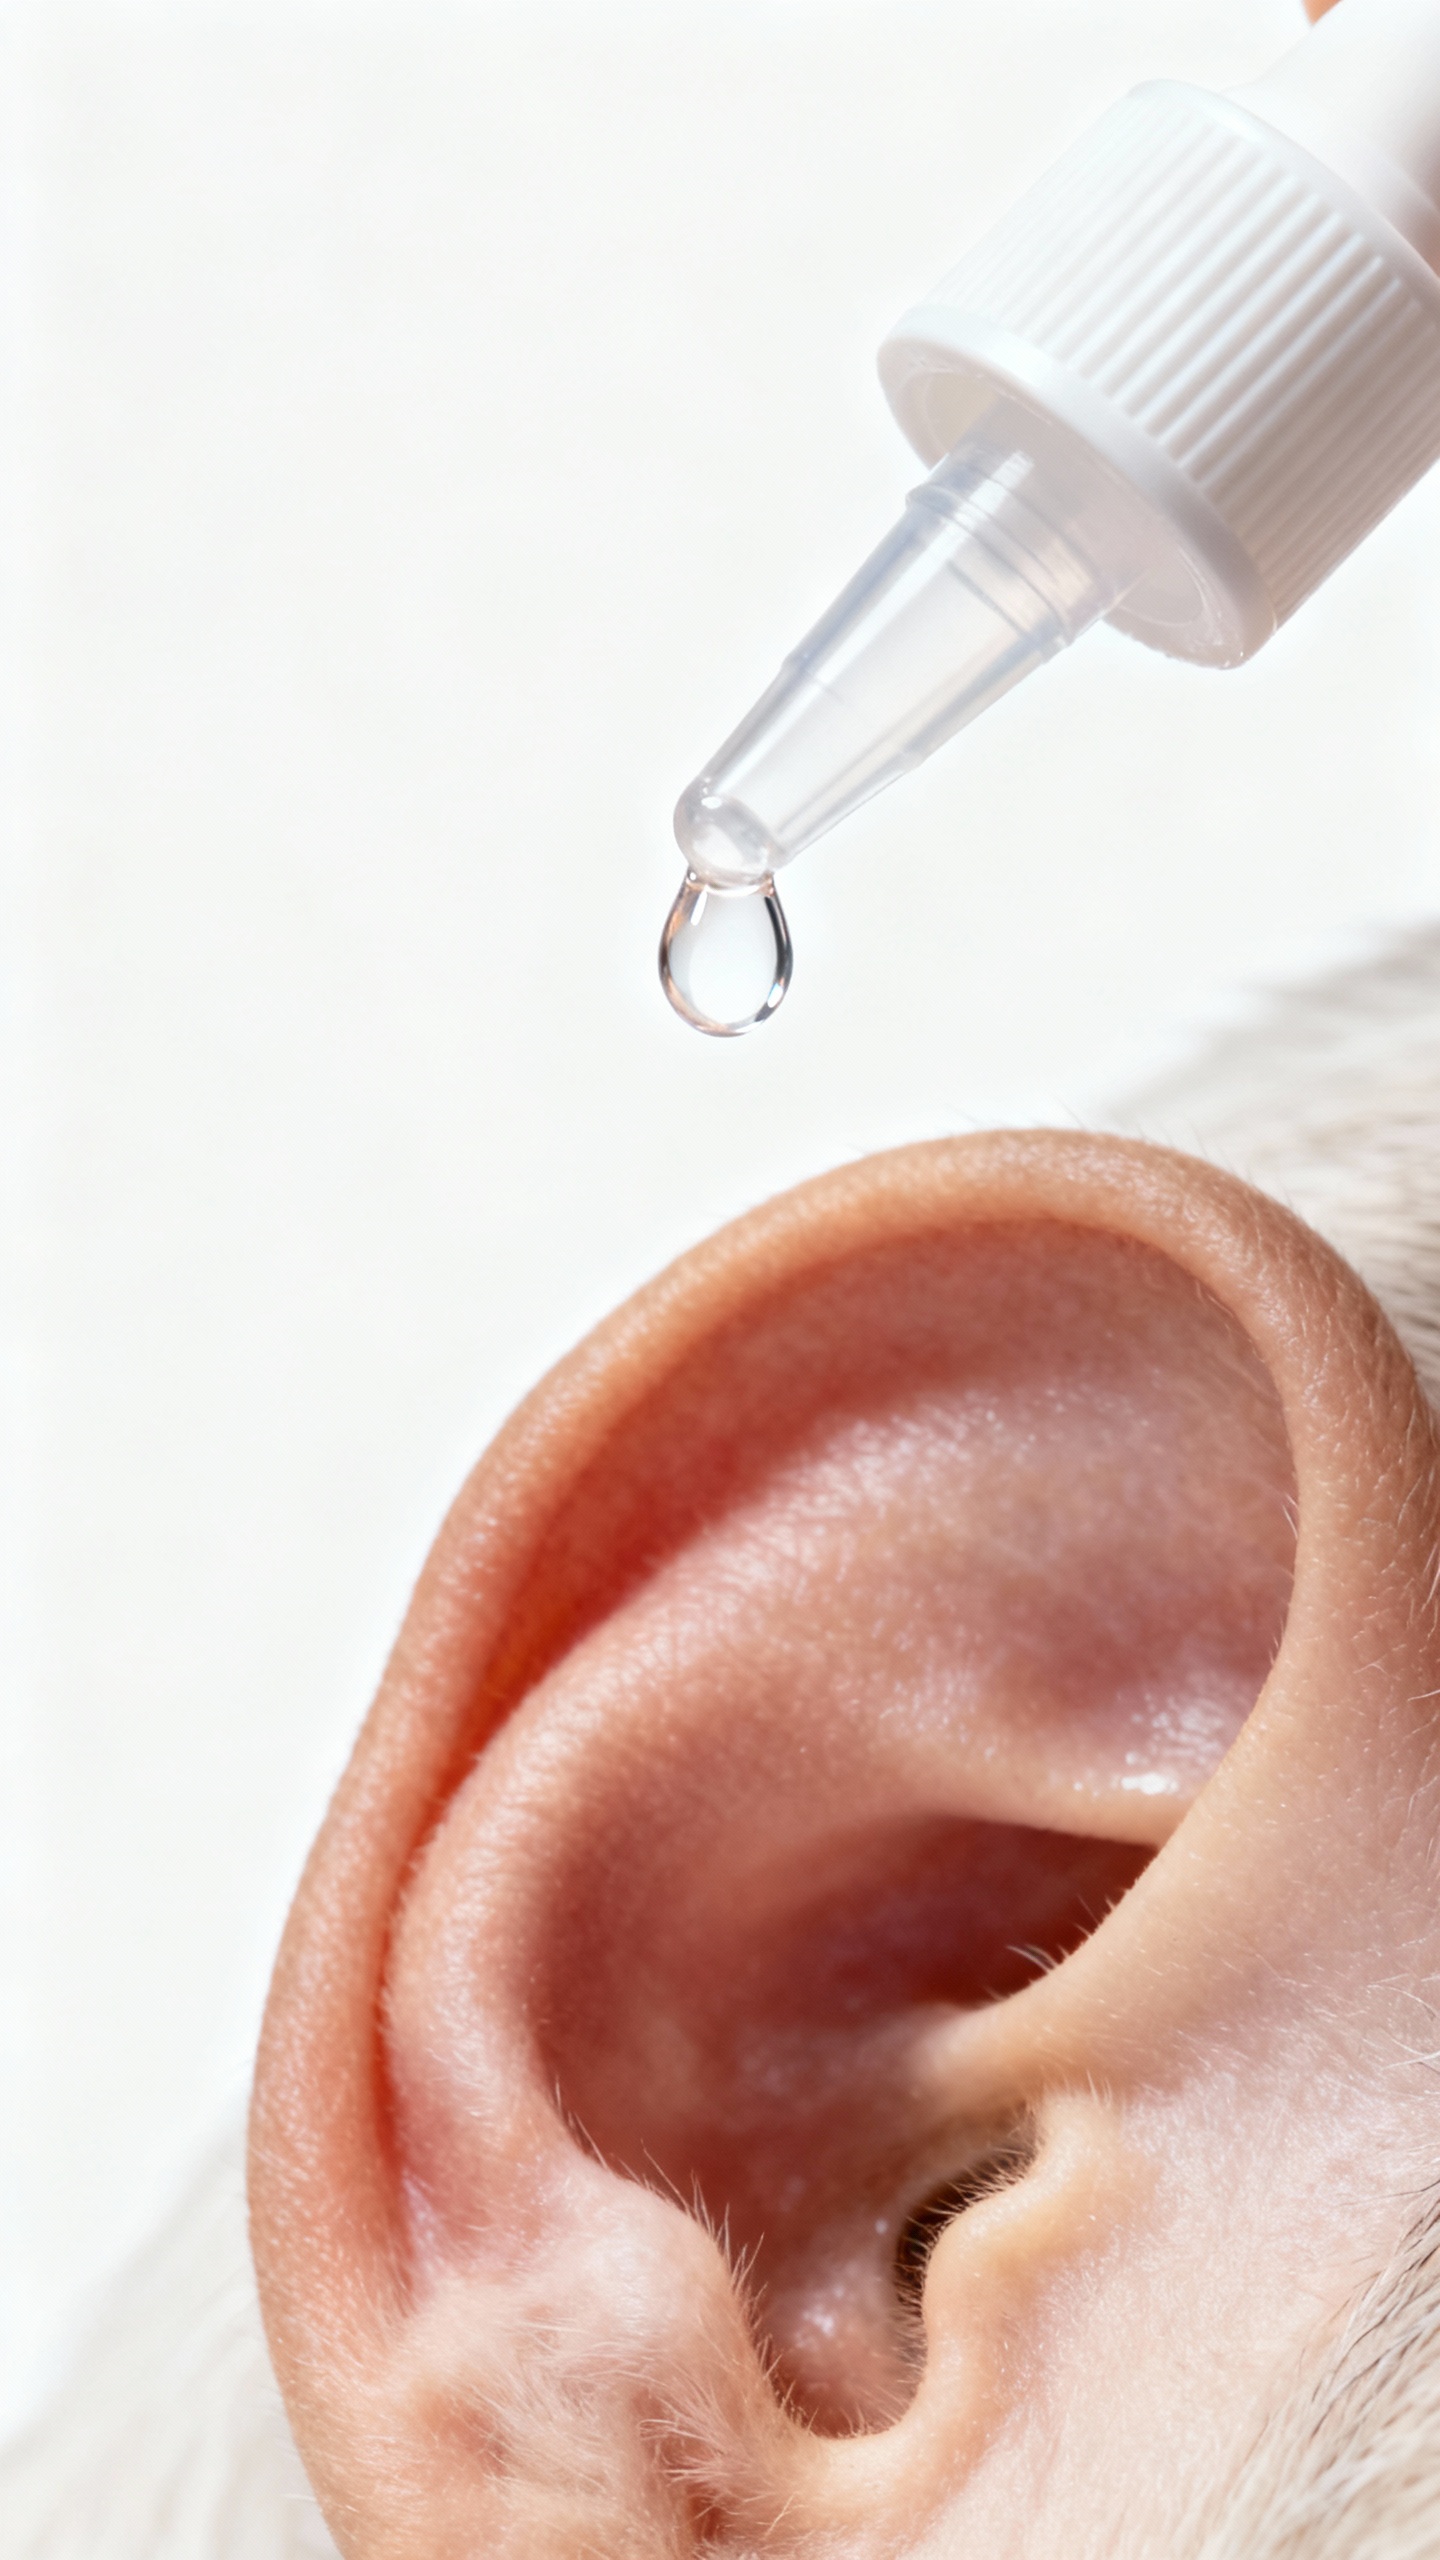
- Fill the ear canal with cleaner. Place the nozzle just at the opening and squeeze until the canal fills. Don’t touch the tip to the ear.
- Massage the base. Use your thumb and fingers to gently massage the base of the ear for 20–30 seconds.
You’ll hear a squishy sound—that’s good. It loosens debris.
- Let the shake happen. Step back and let your pup shake it out. This part is gross.
Also necessary.
- Wipe the gunk. Use cotton or gauze to gently wipe the visible parts inside the ear flap and the top of the canal. Only go as far as your finger comfortably reaches.
- Repeat on the other ear. Fresh cotton, same steps. End with praise and treats.
You’re both heroes.
What Not to Do (Seriously)
- No Q-tips deep in the canal. You’ll push debris deeper and risk injury.
- No DIY mixes. Vinegar and alcohol can sting or dry out delicate puppy skin.
- No cleaning if it looks infected. Call your vet for meds first, then clean per their instructions.
How Often Should You Clean?
It depends on your pup’s lifestyle. Swimmers or allergy-prone pups need more frequent care than couch potatoes. General guideline:
- Check ears 2–3 times a week
- Clean every 1–2 weeks for most puppies
- After swimming or baths: do a quick clean with a drying solution
If you always find heavy wax or smell a strong odor a few days after cleaning, that’s a sign of an underlying issue. Chat with your vet to rule out infection or allergies.
IMO, consistency beats intensity—small, regular cleans work best.
Make It Positive: Training Tips So Your Puppy Actually Cooperates
You don’t need a rodeo every time you pull out the ear cleaner. Start slow and pair the process with rewards.
Desensitization 101
- Day 1–2: Touch and lift the ear flap, feed a treat, and stop. That’s it.
- Day 3–4: Touch, lift, and massage the ear base gently.
Treat. Stop.
- Day 5+: Introduce the bottle. Let your pup sniff it.
Treat. Then do a tiny clean.
Short sessions. Lots of praise.
If your puppy gets stressed, back up a step and go slower. You’re building trust, not chasing a checklist.
Handling Hacks
- Use a lick mat with peanut butter on a wall—instant distraction.
- Have a helper hold your puppy calmly, not in a headlock.
- End before your puppy loses patience. Leave them wanting more (treats).
Aftercare and Keeping Ears Healthy
Your job doesn’t end after one clean.
Routine habits keep ears fresh and problems rare.
- Dry ears after swims and baths. Towel off the ear flap and do a quick clean with a drying solution if needed.
- Groom around the ear canal. Trim long hairs that trap moisture. A groomer can help.
- Watch for seasonal changes. Spring and fall allergies can flare ear issues in Goldens.
- Feed a balanced diet. Skin health starts in the bowl; ask your vet if food sensitivities could play a role.
When to See the Vet
Call in the pros if:
- Your puppy cries or resists ear touches suddenly
- You see thick discharge or blood
- There’s persistent redness, swelling, or a strong smell
- Head tilt or balance issues appear
Don’t wait it out. Ears go downhill fast, and treatment works best early.
Common Mistakes to Avoid
We’ve all been there.
Here’s what trips people up:
- Cleaning too often. You can irritate the skin. Weekly or biweekly usually hits the sweet spot.
- Using human products. Baby wipes and peroxide feel “clean,” but they irritate ear tissue.
- Skipping the massage step. The squishy massage loosens the junk. It matters.
- Stopping meds early. If your vet diagnoses an infection, finish the full course.
Otherwise it comes roaring back.
FAQ
Can I use coconut oil or olive oil to clean my puppy’s ears?
I wouldn’t. Oils can trap heat and moisture and make yeast happy. Use a vet-approved ear cleaner that breaks down wax and dries the canal properly.
Save the kitchen oils for, well, the kitchen.
My puppy hates ear cleaning. What should I do?
Break it into tiny steps and use high-value treats. Touch the ear, treat.
Massage, treat. One drop of cleaner, treat. Build up gradually over a week.
A lick mat or smear of peanut butter buys you a few golden minutes of cooperation. If your pup panics, stop and try again later.
Is a little brown wax normal?
Yes—some light wax is totally normal. If you see thick, dark gunk, strong odor, or your pup keeps scratching, that’s not normal.
Schedule a vet visit to rule out infection or mites.
How much cleaner should I use?
Enough to fill the ear canal, not just a few drops. You want the solution to swish around and loosen debris. It feels like a lot, but it works—and your pup will shake the extra out.
Can I clean after every swim?
Yes, especially for Goldens.
Use a gentle drying solution after swimming or baths to reduce moisture build-up. This simple step prevents a lot of ear infections, FYI.
What if I accidentally touched the nozzle to the ear?
Wipe the nozzle with a clean tissue and a little disinfectant, then let it dry. Next time, hover the tip just above the canal opening to avoid contamination.
The Bottom Line
Clean ears keep your golden puppy comfortable, healthy, and far less smelly—win-win.
Learn what normal looks like, use the right products, and keep sessions short and positive. A quick clean every week or two beats emergency vet visits, IMO. You’ve got this—and your puppy’s ears will thank you with fewer head shakes and more happy zoomies.
Leave a Reply